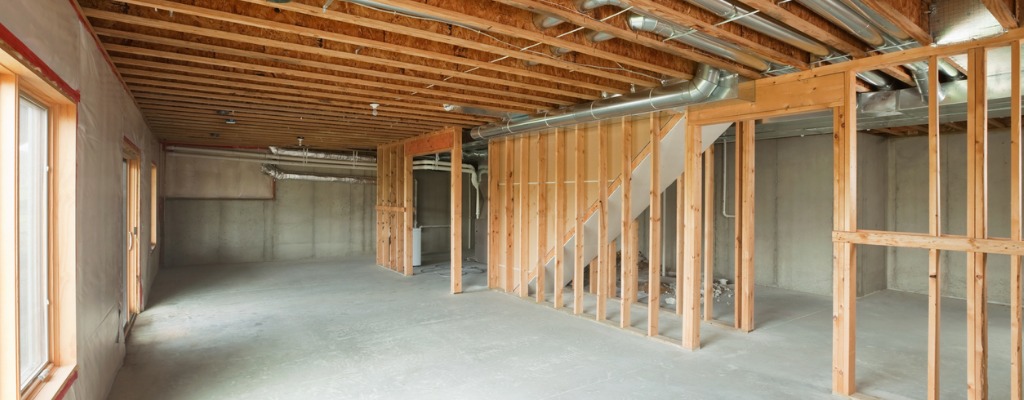
Less than a quarter of new single-family homes are built with a basement today, but collectively, about 40% of standalone homes have a basement. The majority are full basements meaning they are under the entire home, but many aren’t finished out. It’s simply a shell that’s waiting to become a usable space.
The first step in making that happen is insulating the basement. It may not be the most glamorous home improvement project, but it is a very practical one. Insulation has a great return on investment, and it helps you reduce energy costs. But there’s a right way and a wrong way to do the job.
Moisture is the biggest challenge for a basement insulation job. Most of the moisture seeps in through the porous concrete walls. It’s an issue that isn’t a problem above the ground.
In this article, we’re going over the proper way to insulate a basement so that it’s more livable and less expensive to keep comfortable.
Step 1. Choose the Best Type of Insulation
Most homeowners have seen pink rolls of insulation, but few people are fully aware of the insulations that are available today. The most popular options include:
Fiberglass Rolls – Commonly used for DIY installations. It’s affordable and can be easily fitted between beams and studs by a first-time installer.
Foam Board – Foam board is relatively thin, rigid, and has a very high insulating value. It’s typically made of polystyrene, polyisocyanurate or polyurethane. The one caveat is that when foam board is used inside it must be covered with ½” gypsum board for fire safety.
Spray Foam – Spray foam insulation, also known as foamed-in-place, is in a liquid form and is sprayed directly onto walls, ceilings, etc. to create an insulating layer. It’s the go-to insulation if you need to work around obstructions or the space is oddly shaped. This type of insulation should be done by a professional.
Experts agree the best type of insulation for a basement is spray foam. It provides a high degree of insulation and the closed-cell spray polyurethane foam locks out moisture.
No matter what option you pick, make sure it’s R-10 or higher. That will reduce heat loss by 93% or more if the R-value is higher.
Step 2. Seal Up Air Leaks Before the Installation
Before the insulation is added seal up any and all air leaks. This adds an extra layer of insulation, and it can prevent humidity that leads to mold. Pay careful attention around windows and the joist bays.
Step 3. Test the Concrete for Condensation
To test the wall for condensation tape a 2’ by 2’ sheet of clear plastic to the wall. Leave the sheet in place for a few days. If there’s no moisture, then you can start the installation. If there’s moisture on the outside of the sheet it’s from humidity in the house. But if there’s moisture on the inside of the sheet against the wall there’s moisture penetration.
When this is the case, you may want to use waterproof paint to seal the walls before the insulation goes in. It doesn’t block 100% of the moisture, but it’s dramatically reduced.
Step 4. Install the Insulation
If you’re hiring someone to do the job, then you don’t have to worry too much about this step. But even if you aren’t a DIYer it helps to know what the process entails. Below is a quick overview of the process for the two most common types of basement insulation.
Spray Foam
Spray foam really needs to be done by a professional since specialized equipment is used. The spray is a combination of two liquids that are kept separate in 55-gallon drums. The liquids are connected to a heated hose with a spray gun at the end. Once in the gun, the liquids combine before being sprayed out in a foam form.
The foam will adhere to the surface and create an airtight seal as it starts expanding. It takes experience to know how much spraying is enough without going overboard.
Foam Board
Installing foam board installation can be a long, tedious process, but it’s not hard to do. Most foam boards have tongue and groove edges so that the pieces fit together nicely. Start in one corner and line up the boards from there.
An adhesive will be used to adhere the foam to the concrete basement walls. It’s important to use the correct kind of adhesive because anything with a solvent will eat through the foam board.
Step 5. Finish With Furring Strips
Once the insulation is in place, there’s one final step. Furring strips, long thin pieces of wood, can be affixed directly to the insulation. They help create a smooth, flat surface for the drywall that it will hold.
That’s it! Now you have an insulated basement that will be cozier in the winter and far less humid in the summer. Plus, you should see significant savings on your utility bill.
Want to keep improving your energy use? Major Energy has fixed-rate electric and natural gas plans that simplify your power supply. Check to see which plans are available in Major Energy’s 10 service areas.
